OBS Studio
How to integrate H2R Graphics into your OBS workflow for live production graphics.
Adding H2R Graphics to OBS is a simple way to get lots of graphics into your production, and it’s fairly straightforward too.
1 - Launch
Start by launching both OBS and H2R Graphics. We’re off to a good start.
2 - Open a project
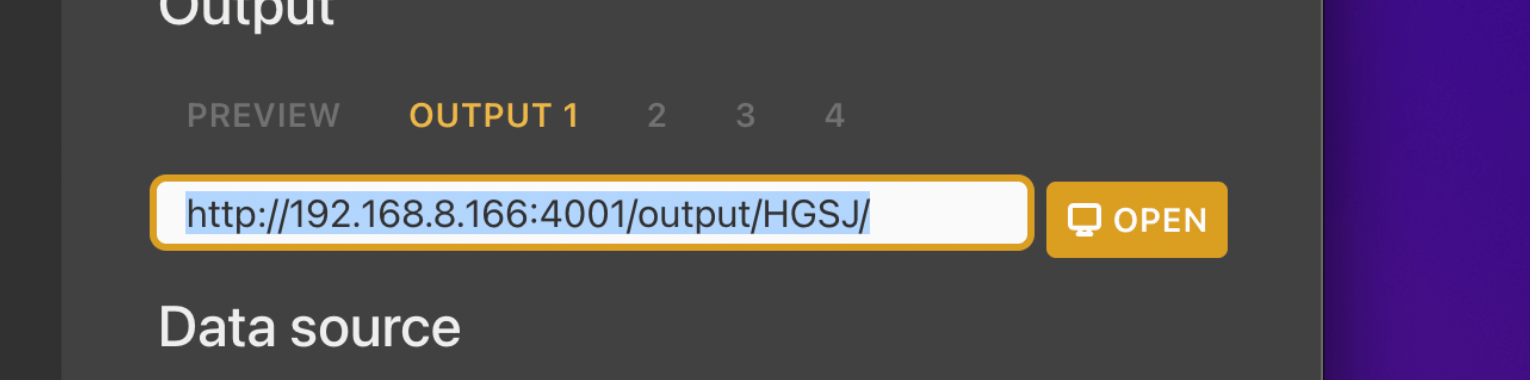
Open your desired project in H2R Graphics and copy the output URL.
3 - Opening the output in OBS
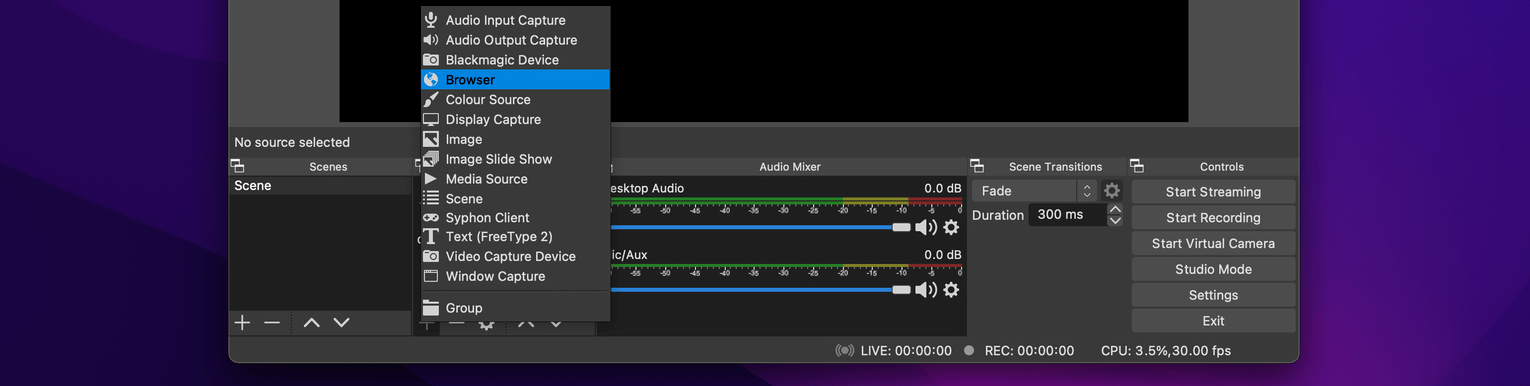
In OBS, add a new Browser source to your scene.
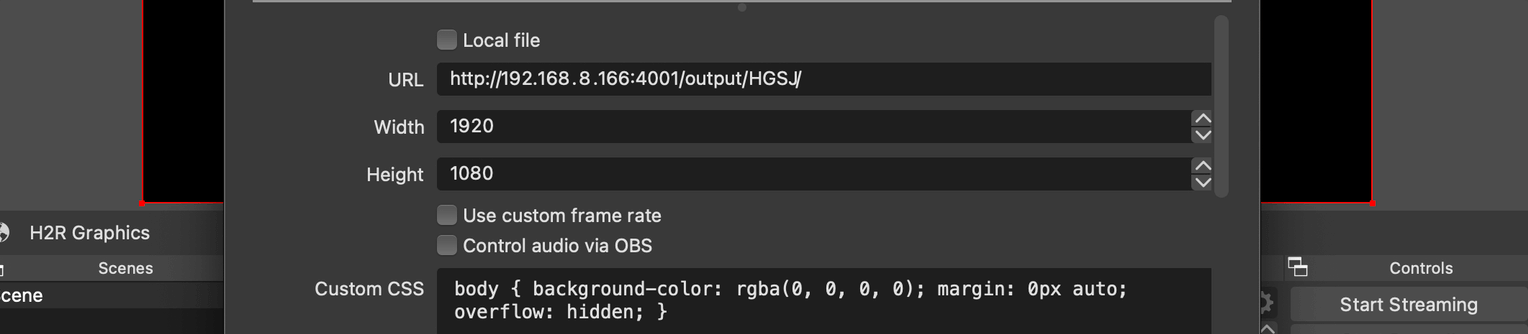
Next, paste in the URL copied from H2R Graphics and set the Width to 1920, and Height to 1080. Then press OK.
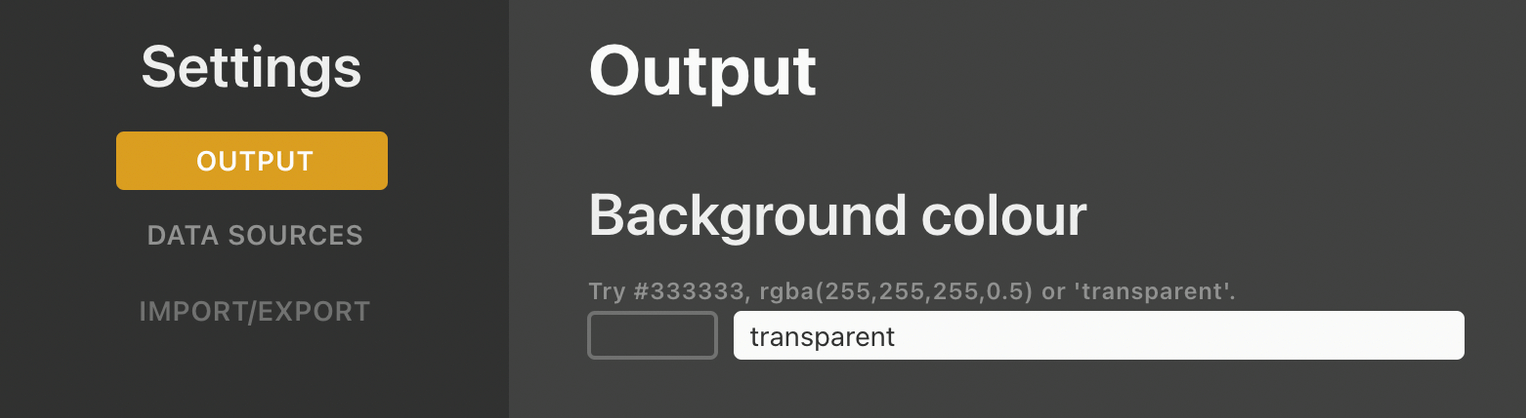
4 - Setting the output background colour
By default, a H2R Graphics output has a green background colour.
Open the Launcher > Output and then set the background colour by typing in “transparent”.
5 - Good to go
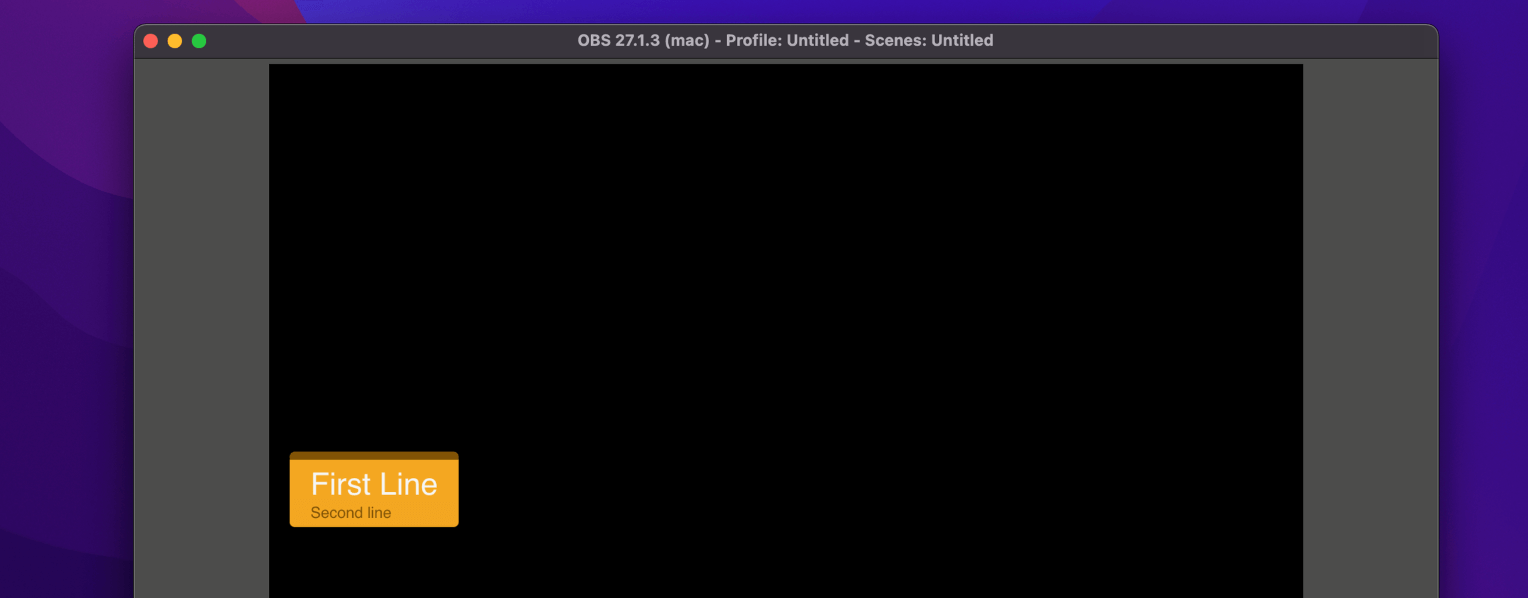
And that’s it. Add the Browser source to any scene where you need graphics.